

Table of Contents
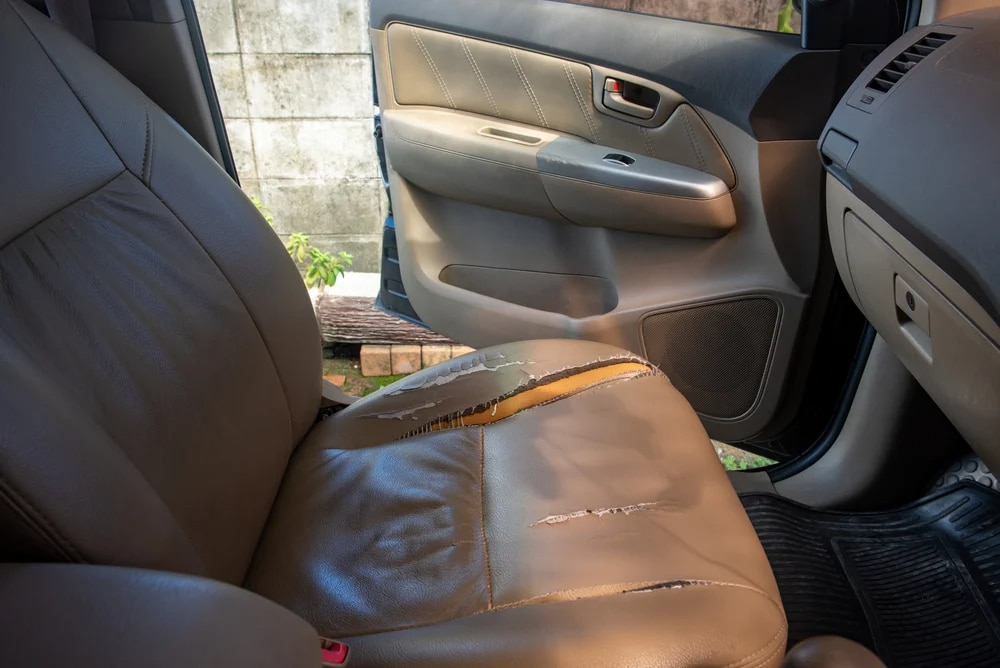
Having leather seats in your car is one of the fanciest things you can own. It is because of their aesthetic look and comfortable sitting. But with the passage of time, the seats get old, and you can see them wearing and tearing. Even after a lot of maintenance work, you can’t protect them for a long period of time. The damaged car seats make your car look ordinary and not pleasing enough, no matter how much you invest in car wax and vacuum cleaners. So, what to do now? If you have a vehicle that has been damaged and you are wondering how to repair leather car seats, we have got you covered. This article guide will focus on the DIY ways to repair the car seat in no time and make them as new as they were before.
Repair Leather Car Seats: Simple Method to Make Your Car New
Hello folks, if you are someone who has this question popping up in your mind about how to repair a ripped leather car seat, how to repair a tear in the leather car seat, or how to repair a torn leather car seat, we have got you covered. There are many ways to repair your ripped and damaged areas of seats such as from getting professional services to trying out DIY methods. However, you can do it at home with our simple step-by-step guide.
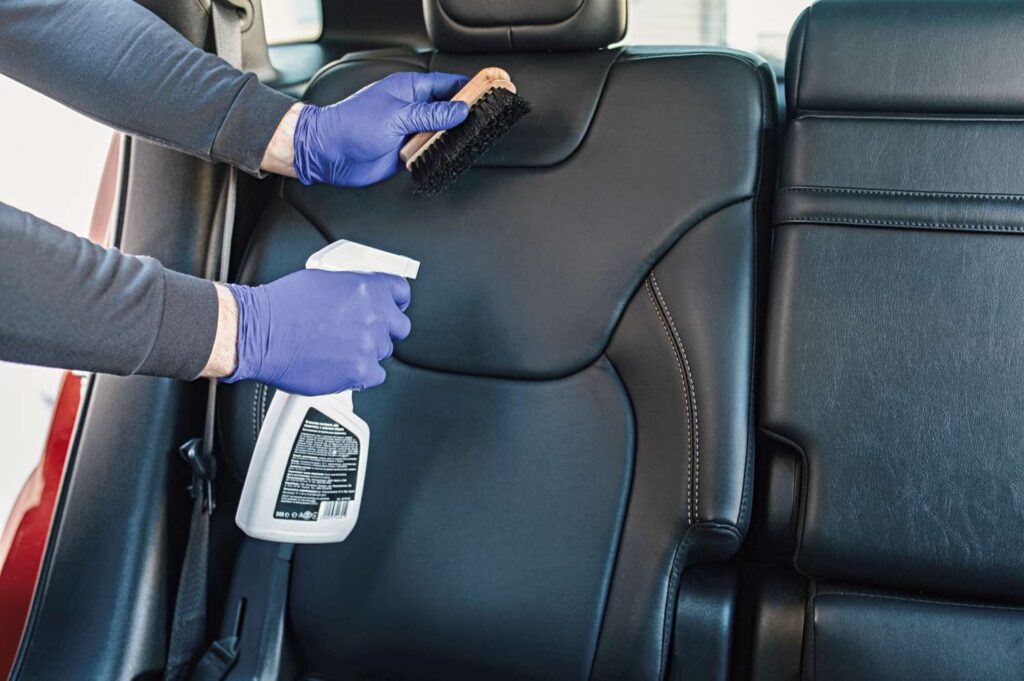
1. Clean the Leather to Repair Leather Car Seats
The first step in how to repair a leather car seat is cleaning your torn leather. Use a leather cleaner along with a soft-bristled brush or cloth to remove any dirt, dust, or grime that has built up on the leather’s surface. You need to focus specifically on areas such as seams and creases that tend to accumulate grime. Moreover, you can also use a clean, damp cloth to get rid of any residual cleaner from the cushions during this seat repair step.
2. Assessment of the Damage
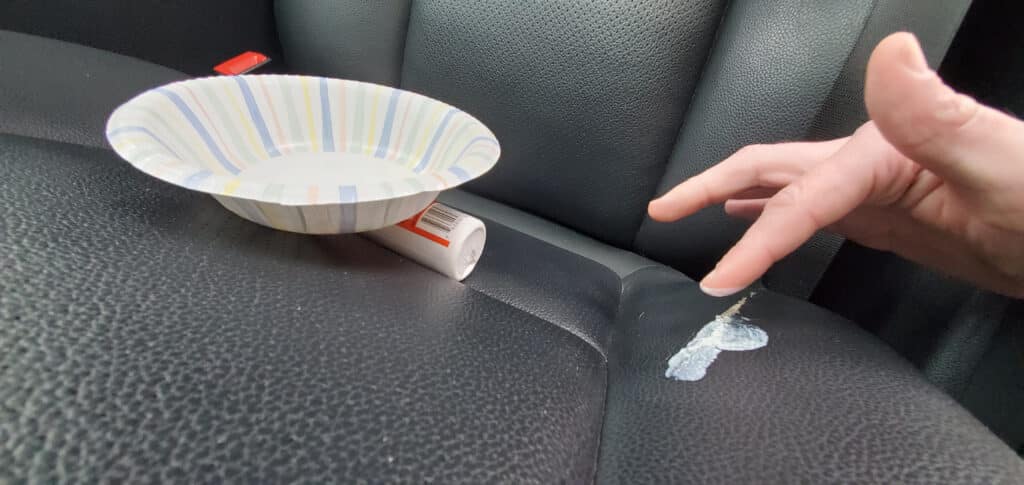
Coming towards the next step of how to repair a small tear in a leather car seat. Conduct an in-depth check of the car seats to identify any signs of damage, such as scratches, tears, cracks, or other impairments. Take note of the precise location, size, and intensity of each flaw, as it will determine the most suitable remedial approach.
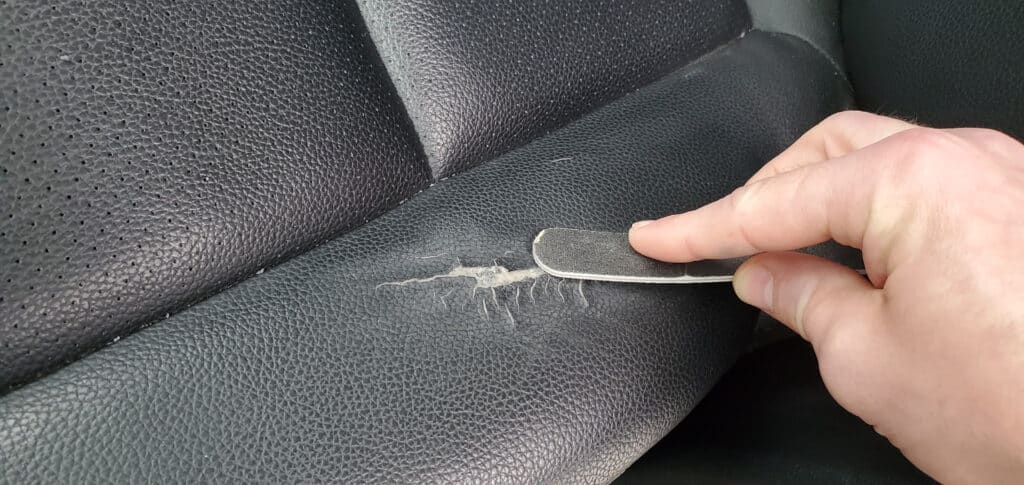
3. Fixing of Minor Tears and Cracks to Repair Leather Car Seats
A leather repair kit can be used to fix small tears and cracks. Rub alcohol and a cotton swab to cleanse the damaged area of any debris or oils. Now, spread a small quantity of leather repair glue evenly over the damaged area using a palette knife or spatula. The leather glue should be spread out using a flat edge and left to cure in accordance with the manufacturer’s guidelines. After that, use fine-grit sandpaper, a heat spray gun, or a hairdryer to gently sand the repaired area in order to blend it with the neighboring leather.
4. Fixing Larger Tears and Holes to Redo Leather Car Seats
If your car has large cracks and holes and you are wondering how to repair crack leather car seats, go through this step thoroughly. It might be necessary to apply a repair to leather that contains larger holes and tears. Use a pre-cut patch from a repair kit or cut a portion of leather from a donor piece. Firmly press a small quantity of leather glue onto the damaged leather area from the outer edges of the patch. After that, apply a roller or your fingertips to remove any wrinkles or air bubbles, and then allow the adhesive to dry completely. This step is important in repairing cracks in leather car seats.
5. Re-dye if Needed for A New Look of Leather Car Seats
The next step in how to repair small tears in a leather car seat is re-dying. You can be required to re-dye the repaired area if it is considerably lighter or darker in color than the surrounding leather. Apply a leather dye that is similar in color to the seating to the repaired areas in an even manner using a brush or sponge. Moreover, allowing the dye to dry fully before assessing the color accuracy and implementing further applications is preferable. The matched color of the leather seats is a sign that you have succeeded in your DIY.
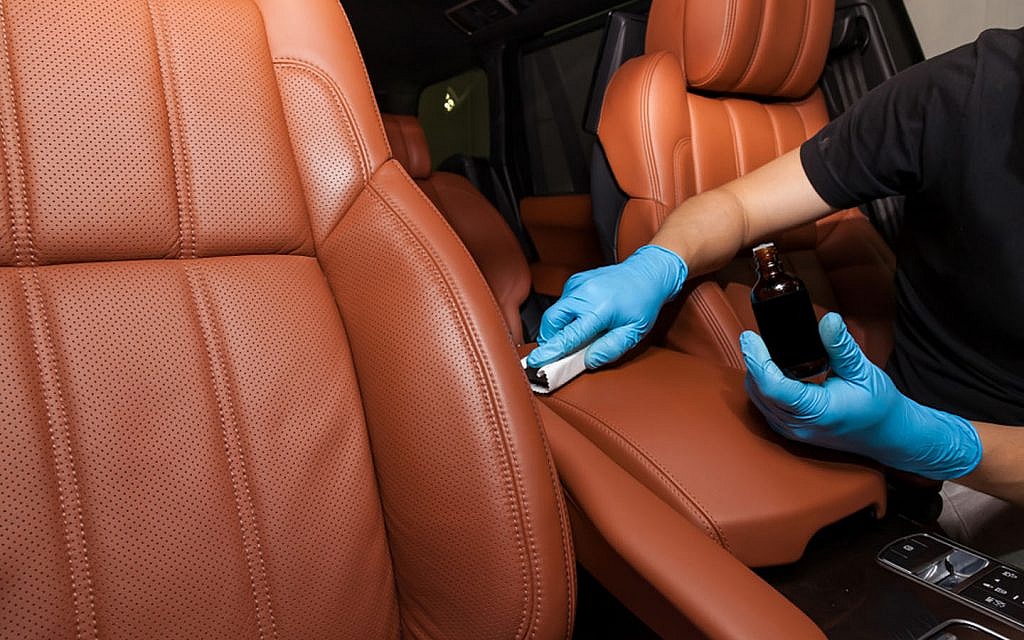
6. Leather Conditioning to Get Rid of Damaged Leather Car Seats
Following the completion of the repair and dyeing process, move to apply a leather conditioner to the complete seat. This step is important in how to repair leather seats in car tear. Apply the conditioner to the leather using a clean cloth while rubbing in circular motions. Pay particular attention to areas that are dried or cracked. After a few minutes of allowing the conditioner to penetrate the leather, remove any extra conditioner from the padding using a clean, dry cloth.
7. Final Inspection to Check the Progress of Damaged Leather Car Seats
After the completion of the repair process, conduct a thorough inspection of the seats to make sure that the color match is suitable and that the repairs are seamless. While seated in the vehicle, examine the repaired areas for any irregularities. Please apply any required adjustments or improvements in order to get the intended outcome. This is the final step in how to repair car leather seats and make them a new one.
By adhering to these comprehensive procedures, one can proficiently restore leather car seats to their initial state. It is important to exercise patience and diligence when doing leather repair, as it is a nuanced procedure that demands careful consideration.
Other Methods to Repair Leather Car Seats
We have precisely discussed the patching, leather dying, and conditioning methods. However, do you know that there are certain other methods that you can try out to repair the damaged leather? If not, don’t worry, as we will discuss some other methods.
1. Professional Restoration to Repair Leather Car Seats
Consultation and Assessment: The process of professional restoration generally starts with a consultation, during which a competent technician or automotive upholsterer will listen to your specifications and evaluate the condition of the seats.
Service Options: In line with the evaluation, the technician can offer the following services:
- Repairing damages such as tears, scratches, fractures, and more using specialized equipment and methods.
- Re-dyeing involves the restoration or alteration of the leather’s color in order to replicate its original or preferred color.
- Conditioning involves the application of high-quality leather conditioners in order to revitalize and safeguard the leather.
- Reupholstering involves replacing the damaged leather entirely with synthetic leather or new leather to achieve a new appearance.
Expertise and Tools: Professional technicians carry the necessary knowledge, practical know-how, and specialized equipment to efficiently address a wide range of challenges.
2. Regular Maintenance to Avoid Damage in Car Seats
Cleaning: Regular cleaning is important in order to remove grime, dust, oils, and other impurities that have the potential to cause slow harm to leather. Regularly clean the upholstery with a soft-bristled cloth or brush and a mild leather cleaner.
Conditioning: Conditioning prevents leather from drying out and disintegrating by maintaining its softness, pliability, and moisture. Apply a superior-quality leather conditioner every few months or as the manufacturer advises.
Sun Protection Measures: Leather that is exposed to direct sunlight can show signs of fading and cracking. Use sunshades or park in shady areas whenever possible to protect the leather from harmful UV rays.
Preventive Actions: It is unwise to position substantial or pointed objects on the seats, as doing so can result in scratches or marks. Additionally, vacuuming the seats frequently is helpful in preventing the buildup of grime and debris.
3. DIY Solutions to Renew Your Car Seats
Cost-Effective: DIY methods for leather seat maintenance and repair can prove to be more affordable in comparison to hiring professional services.
Cleaners and Conditioners Made at Home: One can try to make their own leather conditioners and cleaners by combining organic ingredients such as beeswax, vinegar, or olive oil. These DIY solutions tend to be cost-effective and environmentally friendly.
DIY enthusiasts can carry out tests and experiments to determine which cleaning and conditioning formulas are most effective for their leather seats. However, before applying any handmade solutions to a large, inconspicuous area, it is important to conduct a test to ensure that they are not causing any negative reactions.
Skill Enhancement: Conducting leather repair and maintenance on your own can be an opportunity to obtain a deeper understanding of leather care and acquire new skills. You can achieve satisfactory results and extend the life of your leather car seats through consistent effort and perseverance.
Every method in DIY solutions, professional restoration, and routine maintenance—has its own advantages and factors to consider. Select the method or blend of ways that ideally fit your needs, budget, and skill level.
However, if you want to know common issues with a leather car seat, you can check out this blog.
Conclusion
Summing up, this article covered the ways to repair leather car seats in an efficient way. You can simply try out the simplest methods and make your seats look new. Apart from a simple procedure, there are certain other proven ways to repair the damaged area of your seats. One can try any method that fits one’s needs.
Give Your Car Seats a Spa Day!